One story’s end is just another’s beginning
January 1st, 2016I signed off my last post with
I hope you are appreciated and admired.
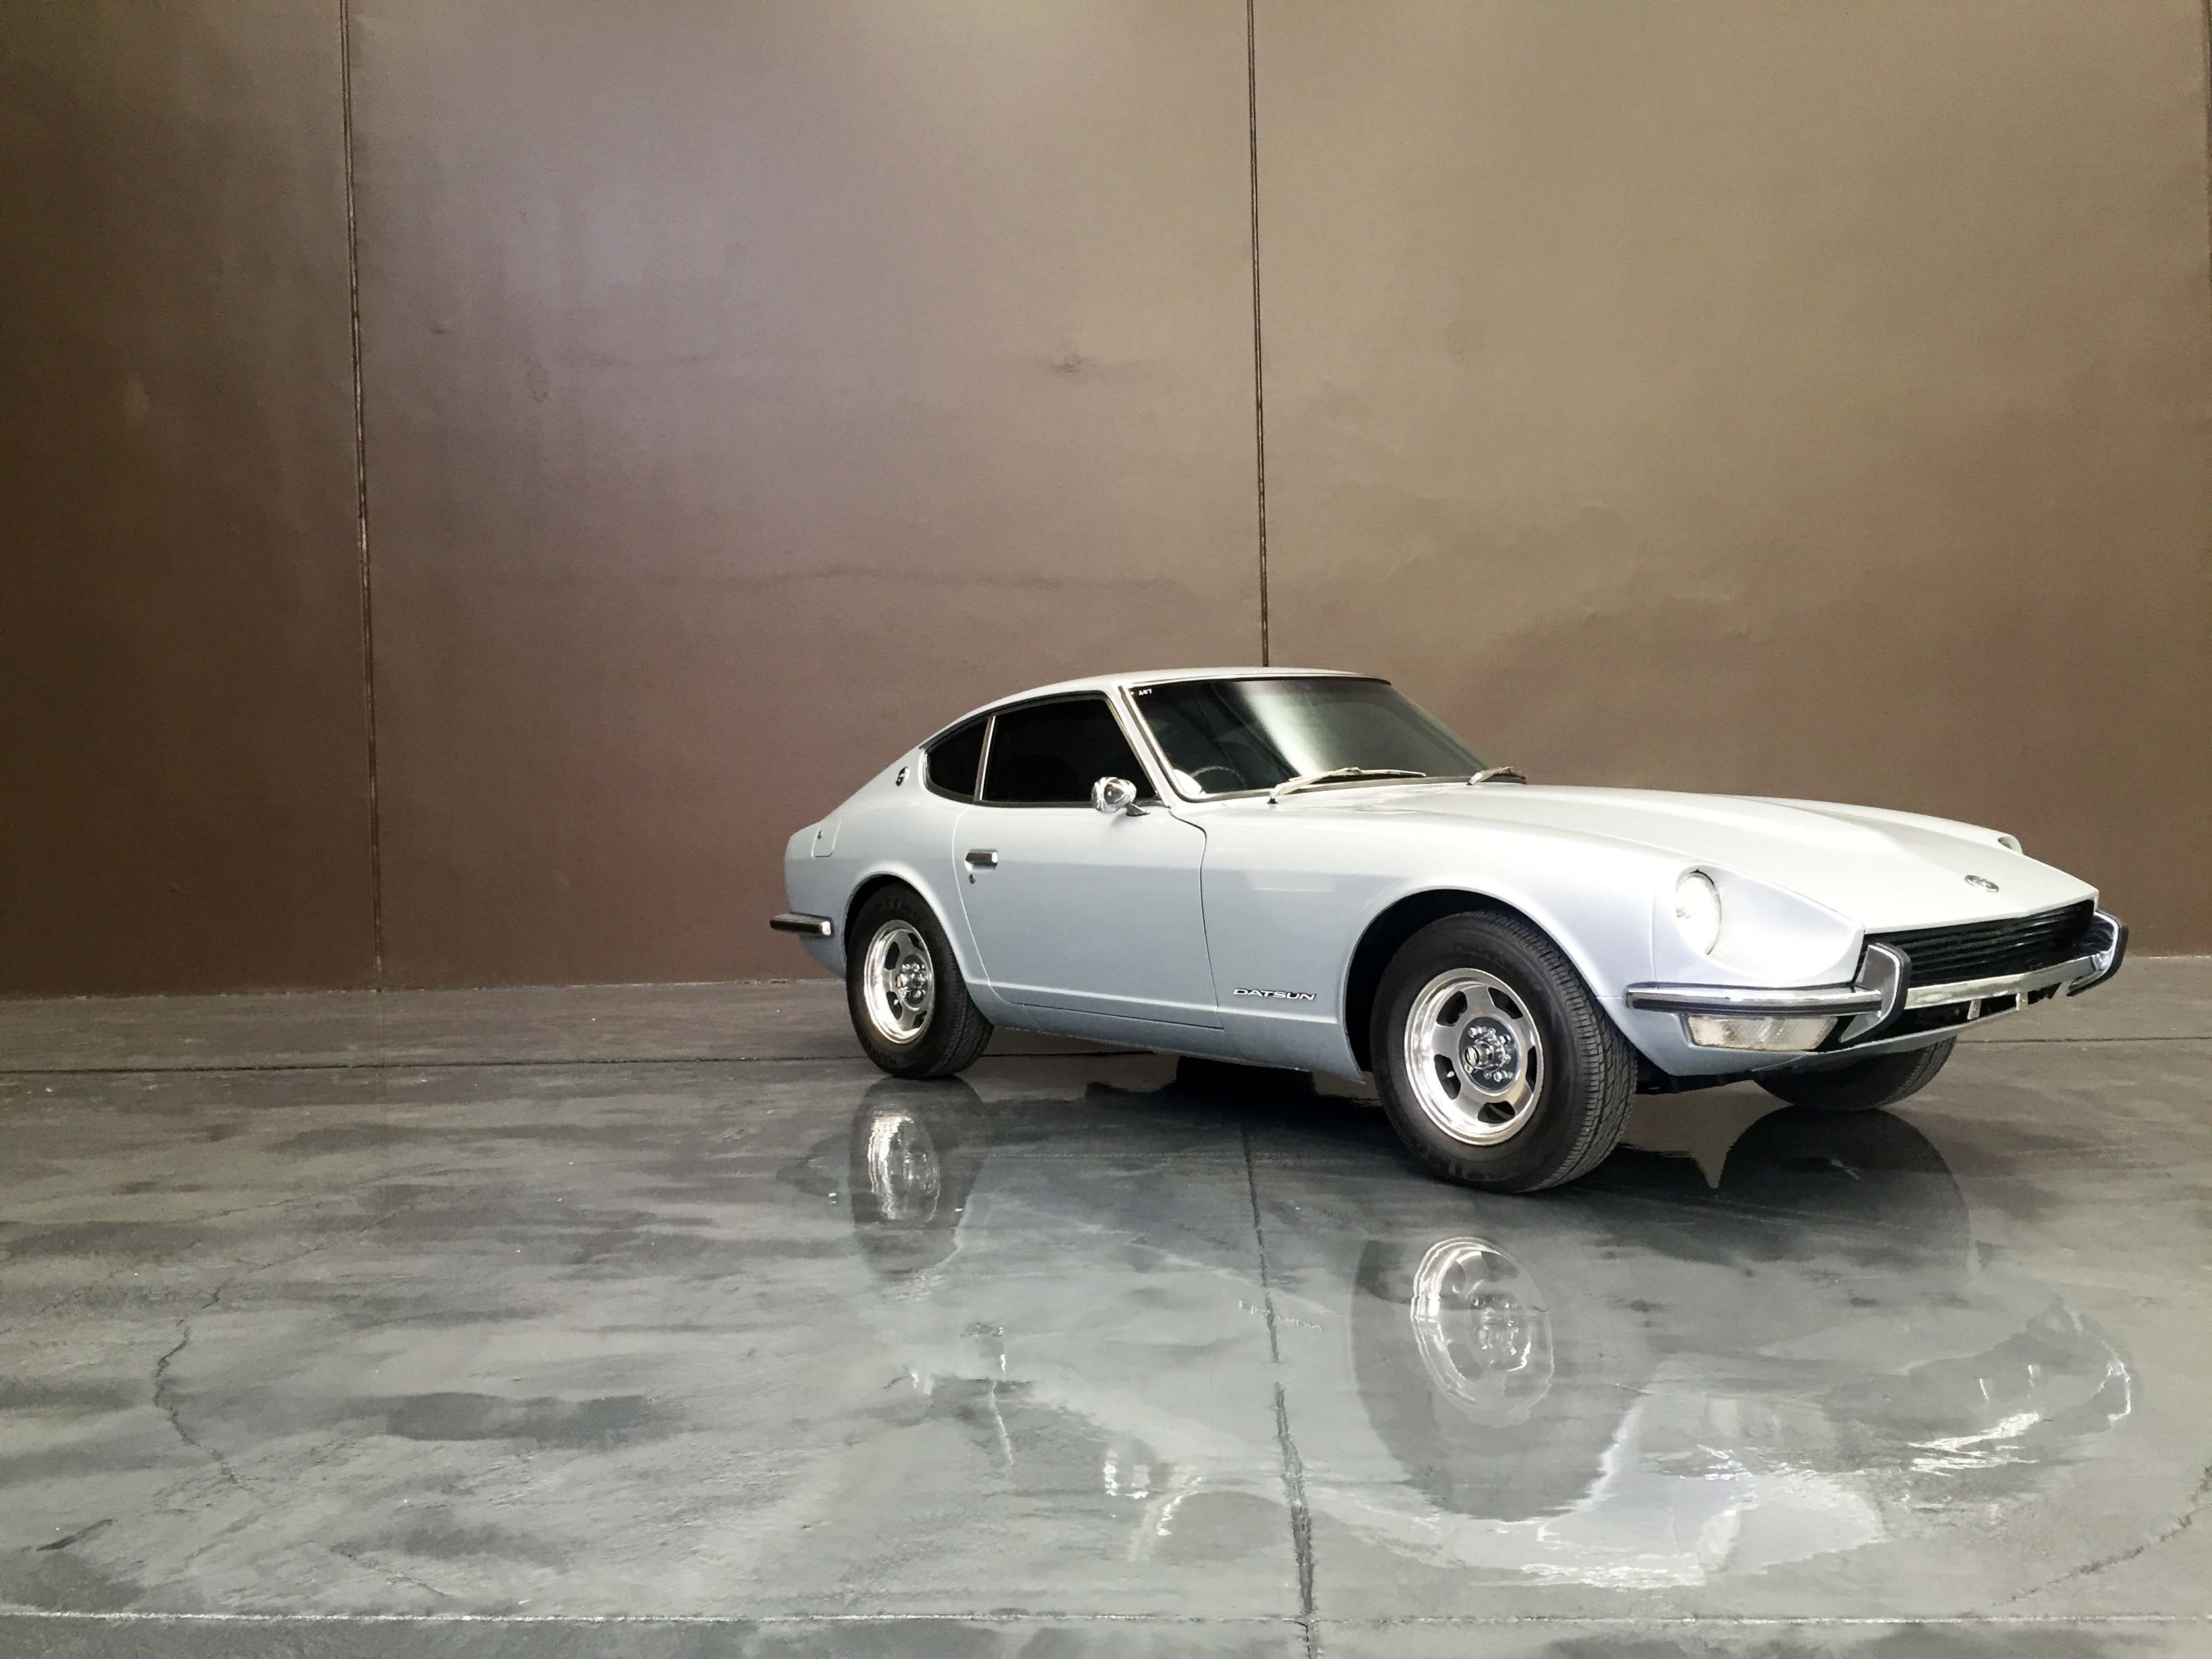
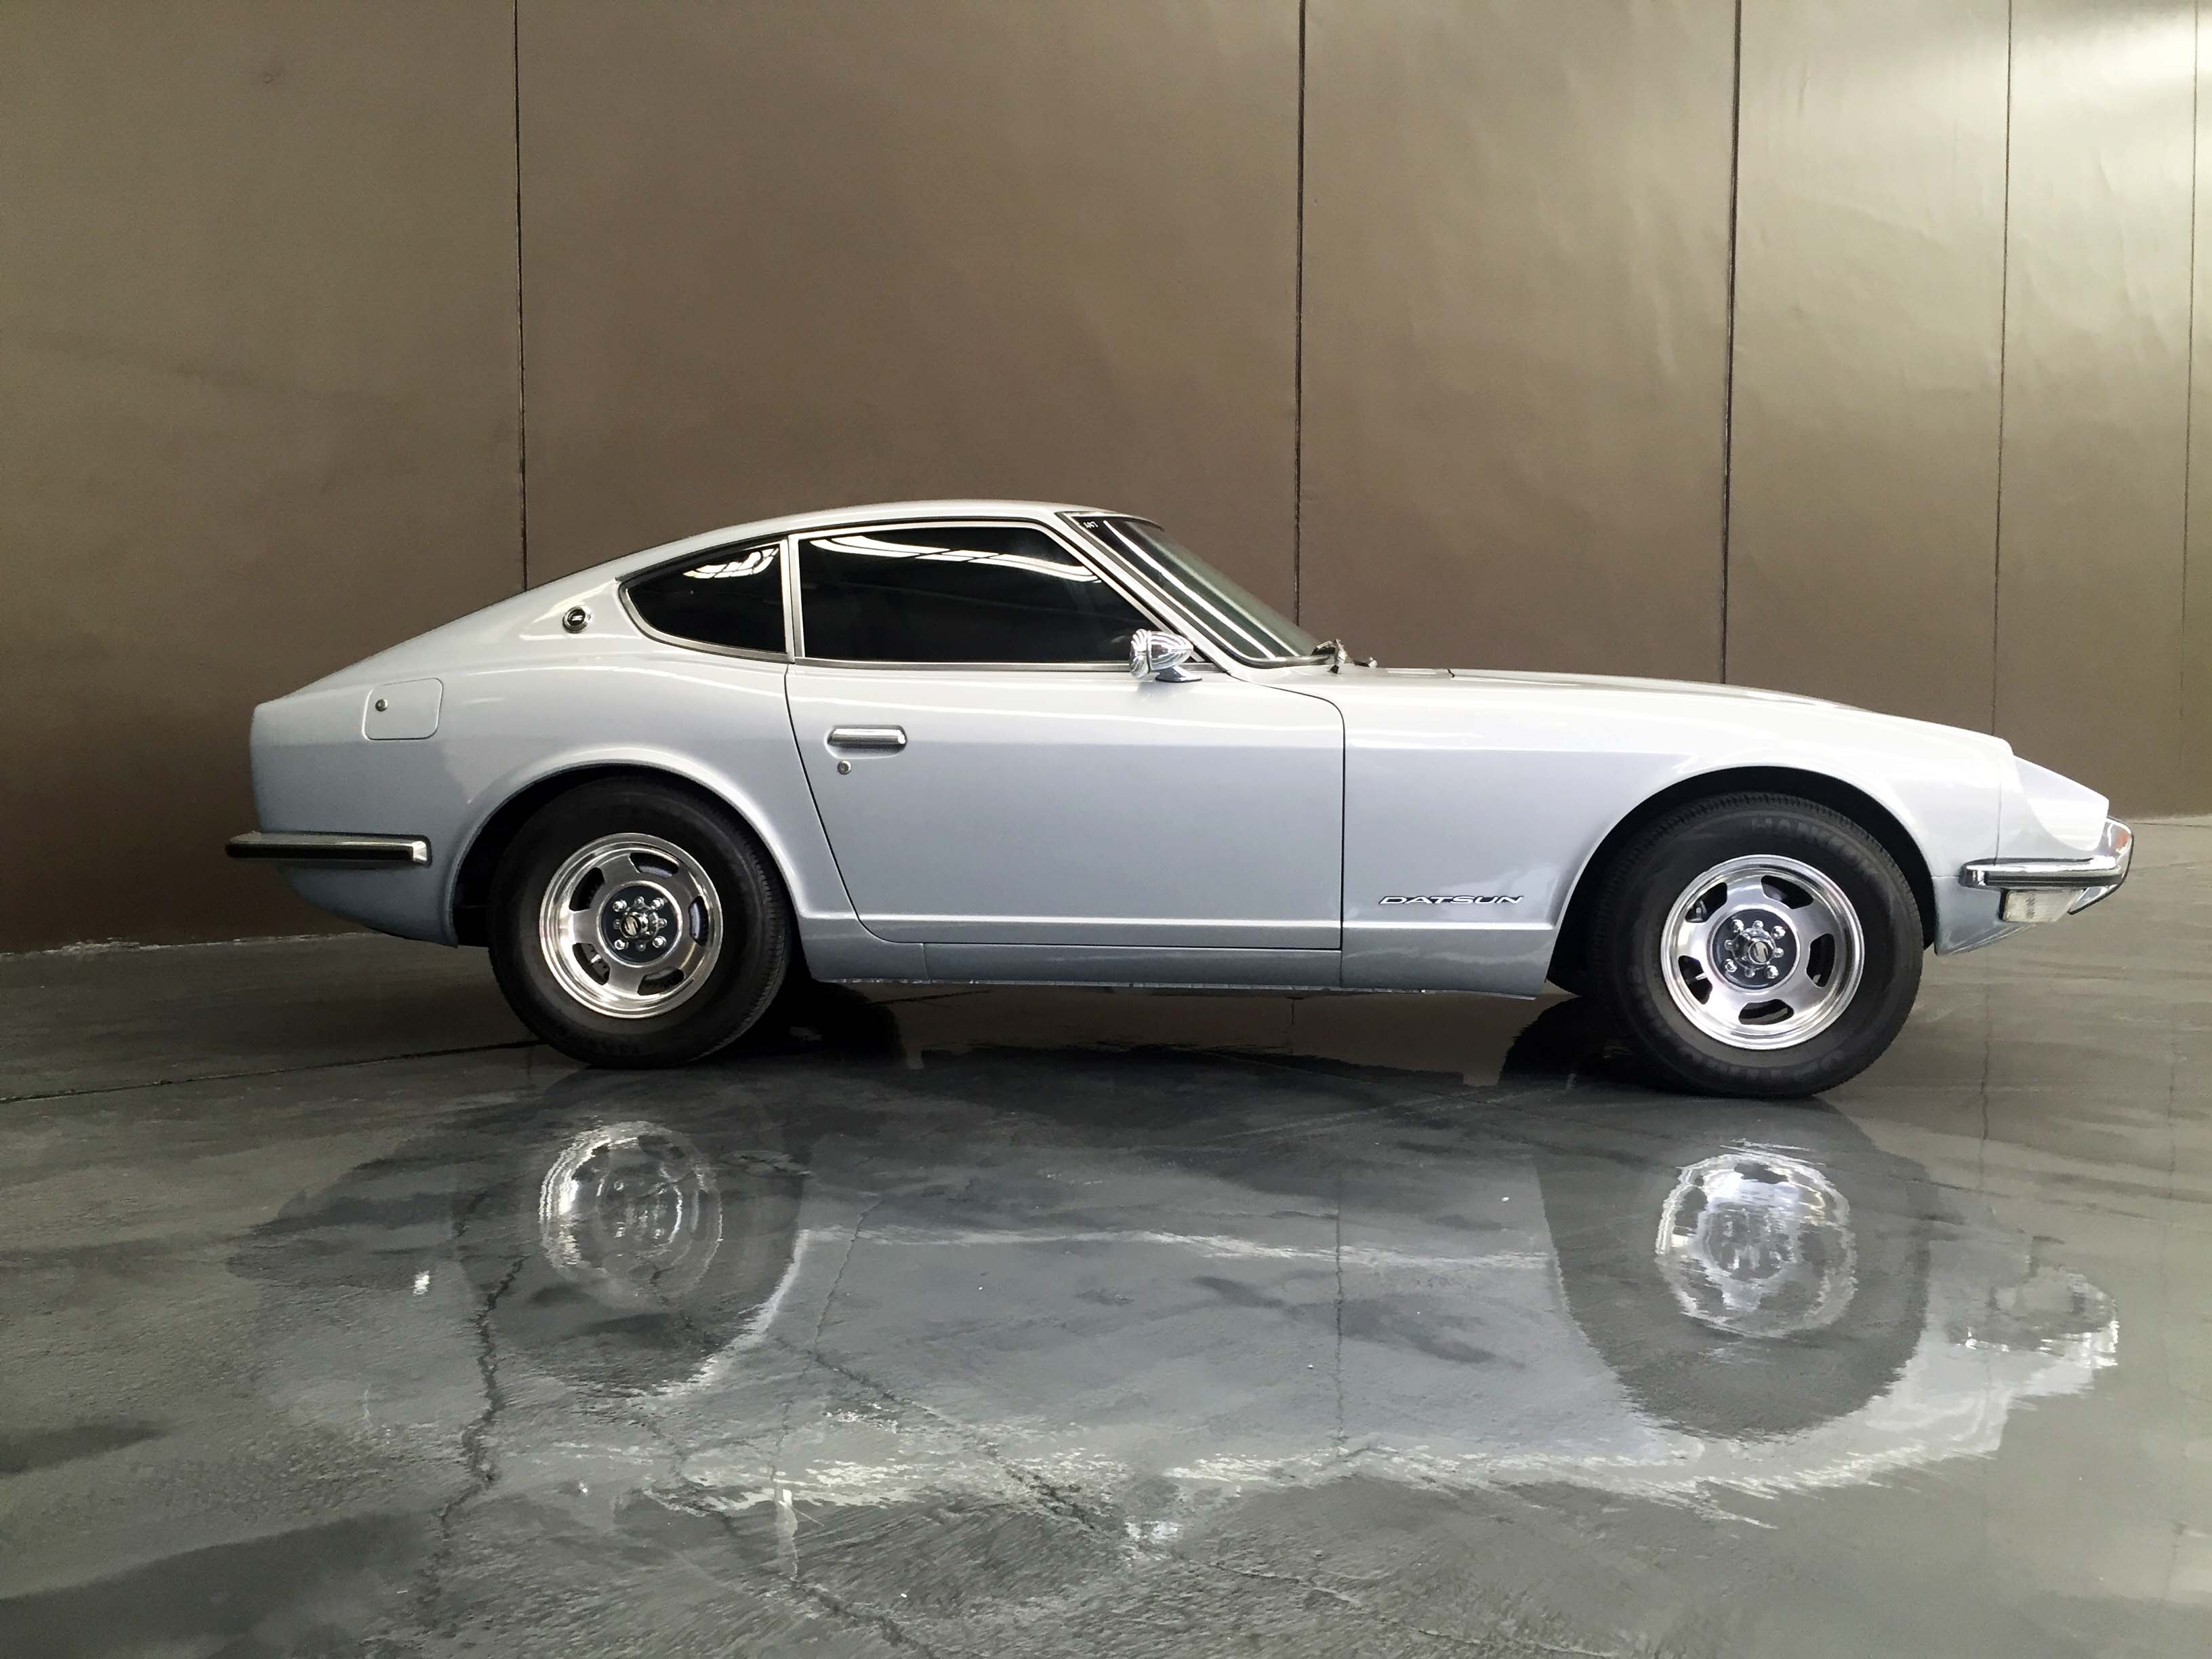
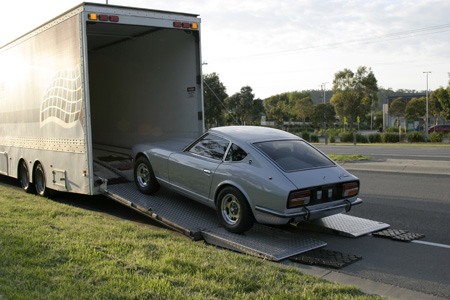
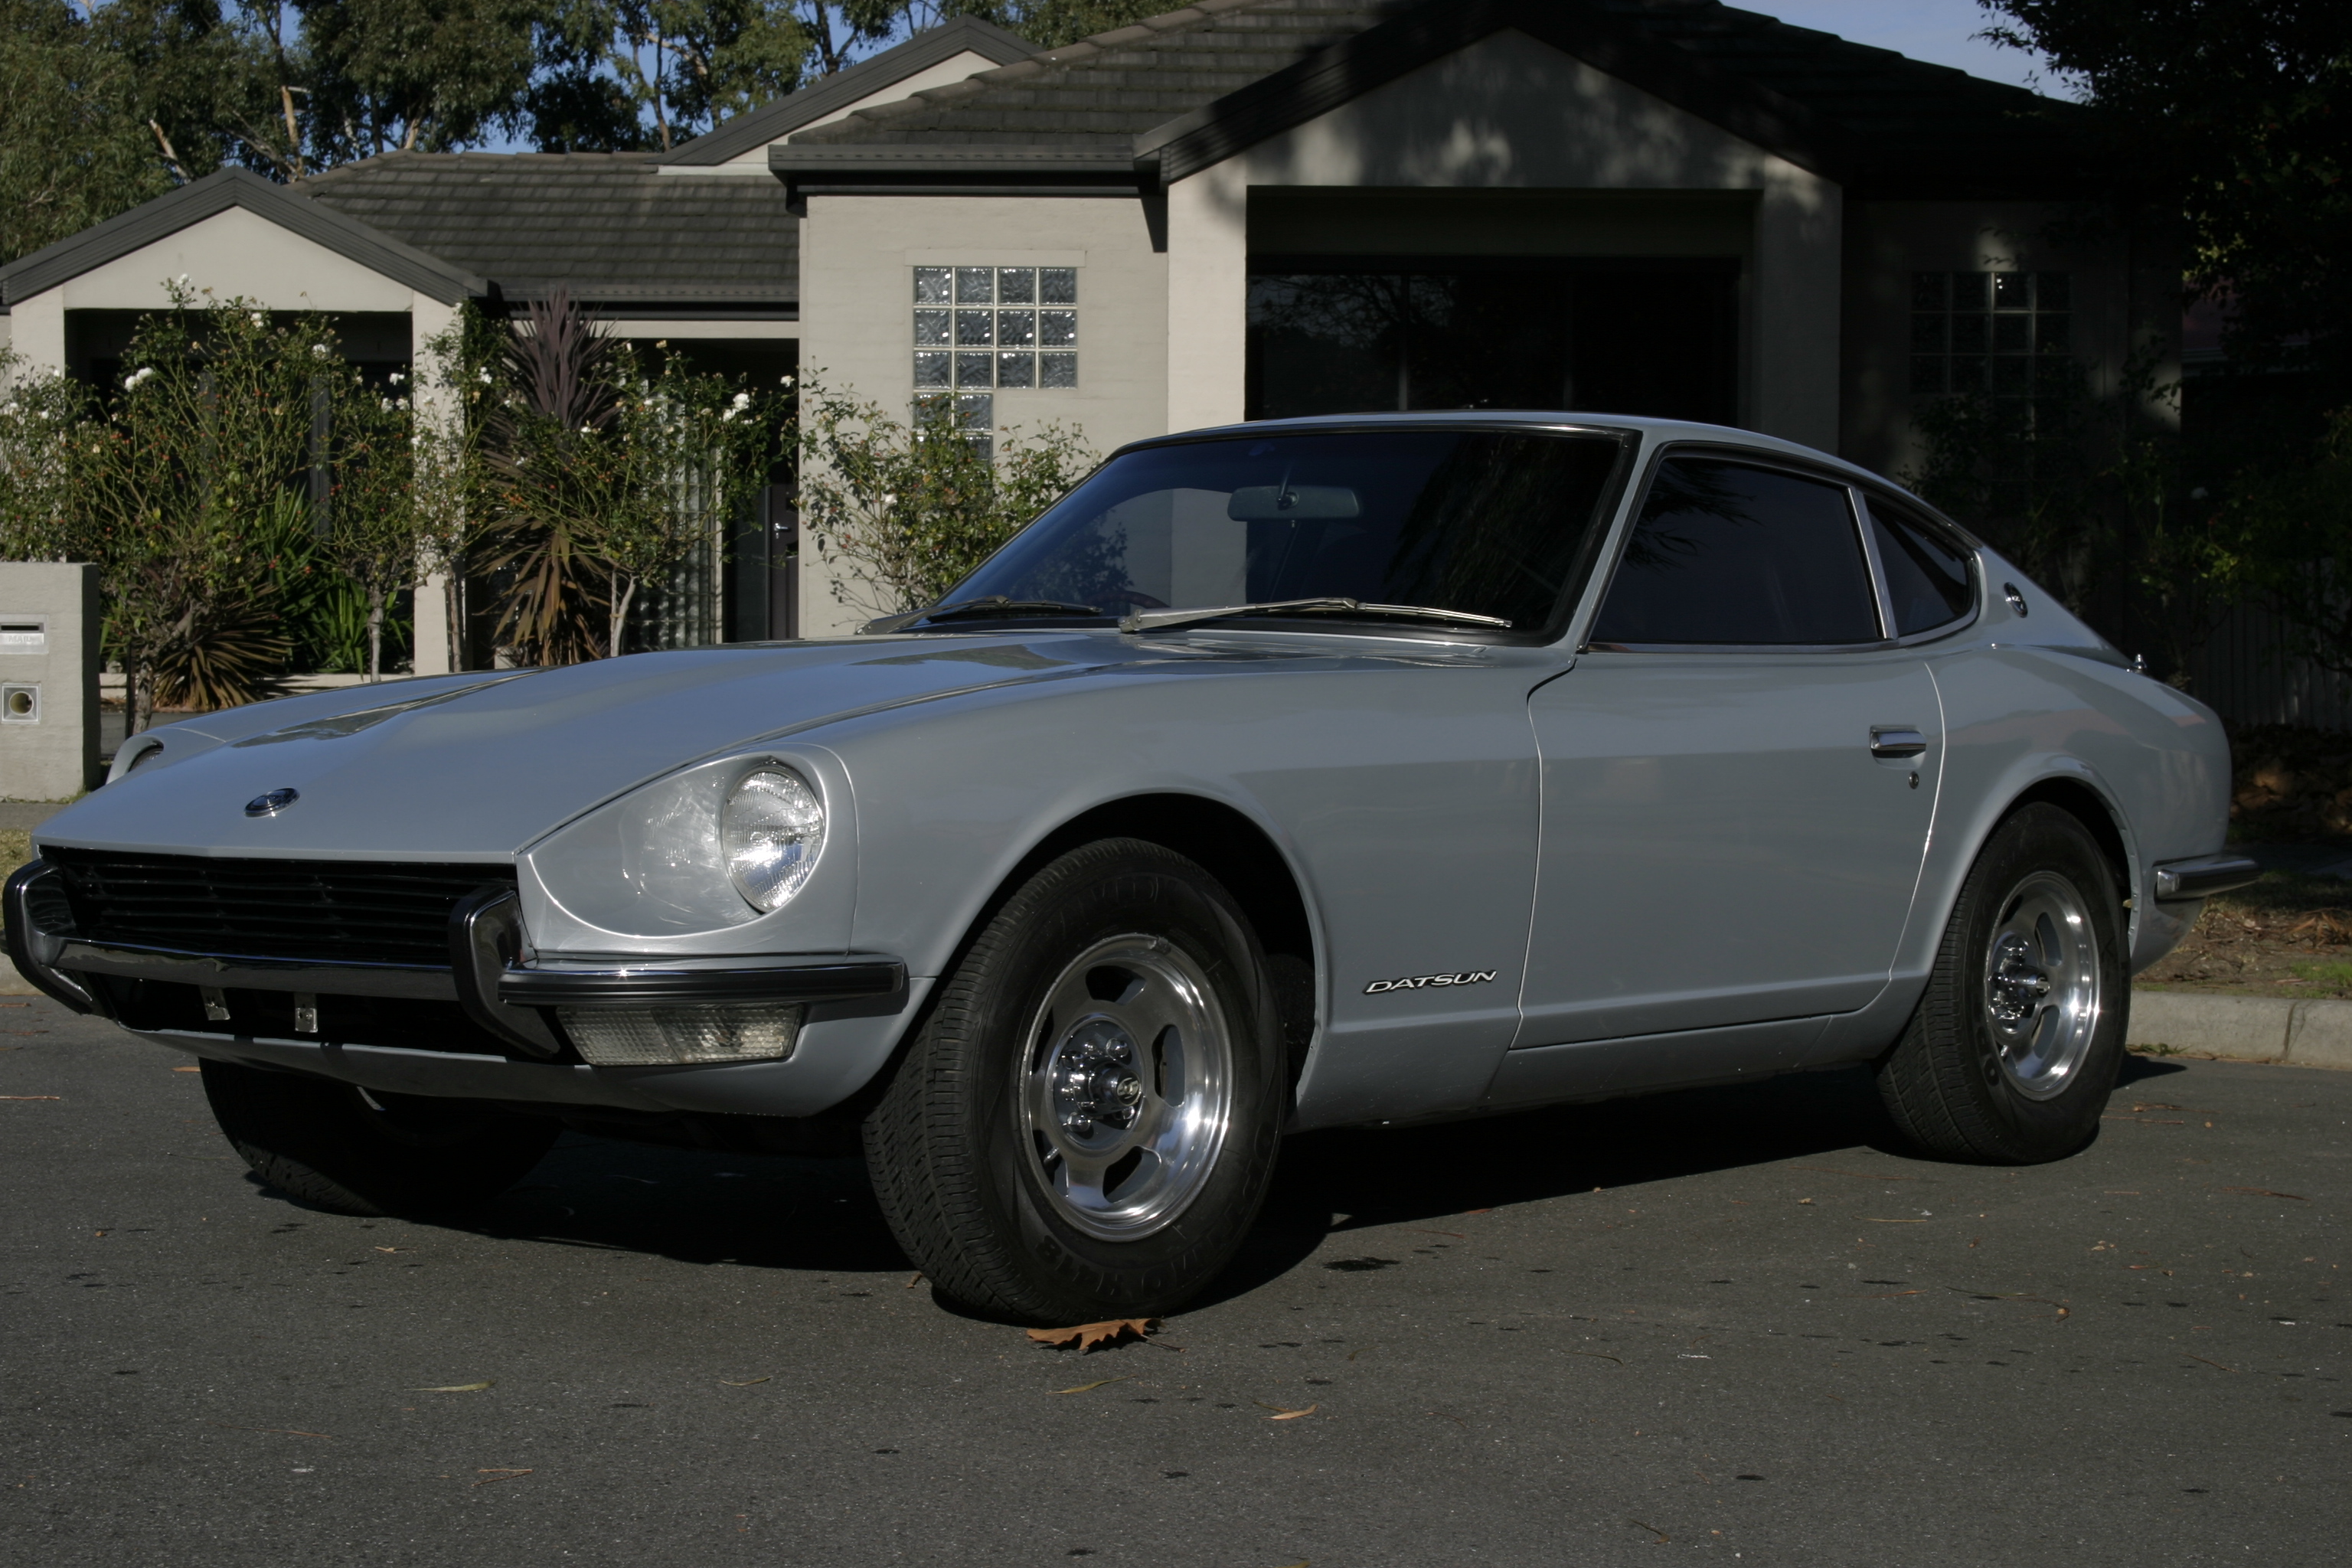
I knew where my car was headed for and I am sure that she will be appreciated and admired. So, where did my car end up? Who bought it? I’m very happy to let you know that Gosford Classic Car Museum purchased the 240Z to be a part of their collection that will open to the public sometime this year!
Penny and I were over the moon that the fine folk at the museum would want to add our project to their collection. It also means that we can visit and see it whenever we head north. We’ve received a couple of photos of the 240Z in the museum and think that it looks fantastic. They have also posted a photo or two on their Facebook Profile.
So, a new story has begun for the 240Z, as a piece in a collection of fine automobilia.