Rear struts replaced

February 3rd, 2007

Now that the shocks have arrived form the states, we can get started on the rear end. Firstly, we removed the half-shafts and then the hand brake cable. Then, we started working on the strut tower on the driver side first.

I had wanted to take the strut tower completely off the car, but after trying to separate the strut tower and the wish bone, I gave up on that idea. The aim of the work we were doing was to simply change the shocker inserts. Since this was the only thing that we really needed to do, we tried to simply undo the strut tower from the car and lower it with a jack. This worked a treat and we could finally do what we wanted to do.

We compressed the springs and removed the top caps and then the springs. The next tough part was getting the old shockers out. Using a large wrench and a long tube (to increase the amount of torque that we could apply), the gland nut just didn’t feel like budging. Working at it a little more, it finally gave a little and we knew that we were close. We finally got it off and the old cartridge out. We then put the new cartridge in. We did the same on the other side, but this time without wasting time trying to get the wishbone separated from the strut tower ;).

With the shockers replaced, I went about cleaning the components under the car. Even though we had washed under the car several times, there was still plenty of dirt on most of the components under there, especially the ones facing the underside of the car. I was able to wash the passenger side, but ran out of time before being able to do the driver side.

Engine and Gearbox, one again.

January 27th, 2007

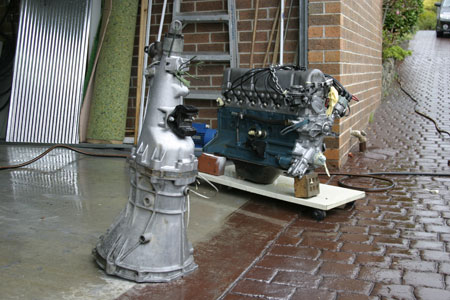
Today, we focused on getting the engine and gearbox together again. Before we could get started though, we needed to replace a few of the oil seals on the gearbox, both ends. While we were at it, we also replaced the gasket on the front of the gearbox. After a quick trip to the shops to get some gear oil, we filled the gearbox and we were ready to get the engine and gearbox together again.

Whilst I was at the shops, Dad got the clutch and pressure plate onto the flywheel. He has a special piece of wood that a friend had turned that was the size of the gearbox input shaft. He uses it to align the clutch and pressure plate. With the clutch attached to the flywheel (finger tight) we mated the gearbox onto the engine (glad to be doing this while the engine is out of the car). We then, carefully, took the gearbox off, making sure not to knock the clutch out of alignment. The clutch was tightened and the gearbox put back in place and bolted on.

The last thing we did for the day was take off the old exhaust headers and get the new ones on. It took a lot of fiddling around to get the old ones off, but the new ones went on pretty easily. The new headers had a couple of differences to the old ones though. Firstly, there as no place to put the heat exchanger (Not sure what this is called, but it provides heated air for the air intake to the carbies. The second is the depth of the manifold. It is about 6mm thinner than the inlet manifold. Both manifolds are held in place by a nut and washer that is attached to a stud between the two manifolds. This washer needs to be level and since the depths of the manifold are now different, the washer sits on an angle. We will have to get some new washers made up that have a “step” in them to make sure that the nut puts pressure on both manifolds evenly.

More Parts Purchased

January 24th, 2007

I picked up a few more parts for the car today. BGT had let us know that the harmonic balancer was ready to be picked up, as was the new clutch kit.

I also went to Z Spares and bought a new set of HM Headers. The exhaust system that was on the car had been dented quite a bit, so I decided that i would change the whole system.

Engine Clean-up

January 20th, 2007

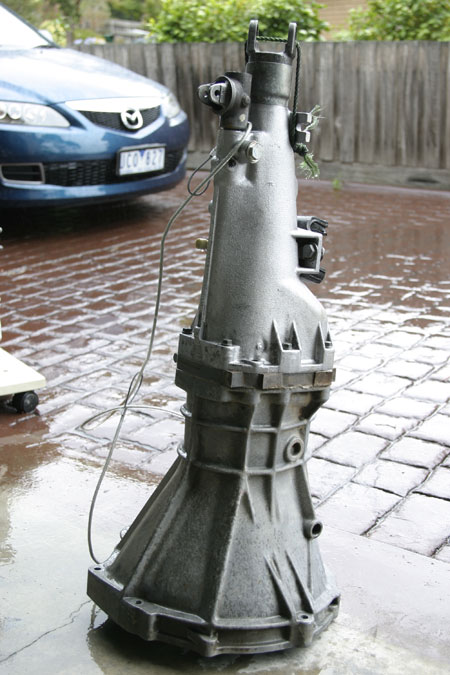
With most works coming to a halt due to waiting for parts, we decided to spend some time cleaning up the engine and gear box. Dad had spent some time on the engine already. Today, I started with cleaning the gear box. To get the bulk of grease, oil and dirt off, we were using a small baby bath with a bottle of kerosene tipped in. The kerosene was doing a good job on getting all of the muck to move off.

Once the bulk of the dirt was removed, we turned to some strong chemicals. We used aluminium cleaner on the gearbox and head of the engine. This cleaned up the aluminium really well. The engine was still a bit grotty, so we hit it with degreaser again, letting it soak in for a long time. With the final rinse, the engine looks a million bucks. I have decided not to paint the block as now that it is clean, it doesn’t look all that bad.

Brake Repairs Returned

January 17th, 2007

Dad went to BGT today to pick up all of the components. Along with the parts that needed to be reconditioned, he also got replacement pads for the front brakes, steel braided hoses for all four wheels and a new hose for the clutch slave cylinder.

It looks like I had good reason to not have much faith in the brakes. Both master cylinders were replaced as the old ones were not worth rebuilding. One of the pistons in the calipers also had to be replaced. BGT has done a fantastic job. Now I just have to get all the stuff back on the car.

Whilst Dad was picking up the brake stuff, he asked if they could replace the clutch kit for us as well. He also mentioned the problem that we have with the harmonic balancer and they said that they would be able to fix it for us.

Dad also swung by Brighton Nissan to pickup the seals for the gear box, along with the gasket for the front cover of the gear box (in-case we damage it when replacing the front seal).