Gallery Archive


Busy few weekends
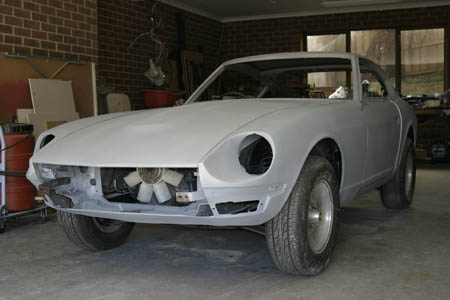
-
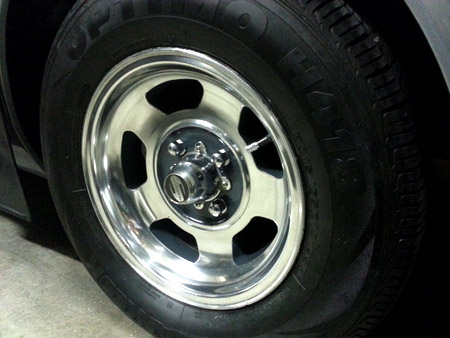
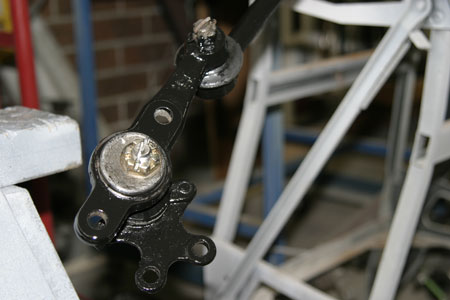
- Polished, painted and new lug nuts,
Squish Squish... brakes get a freshen up.

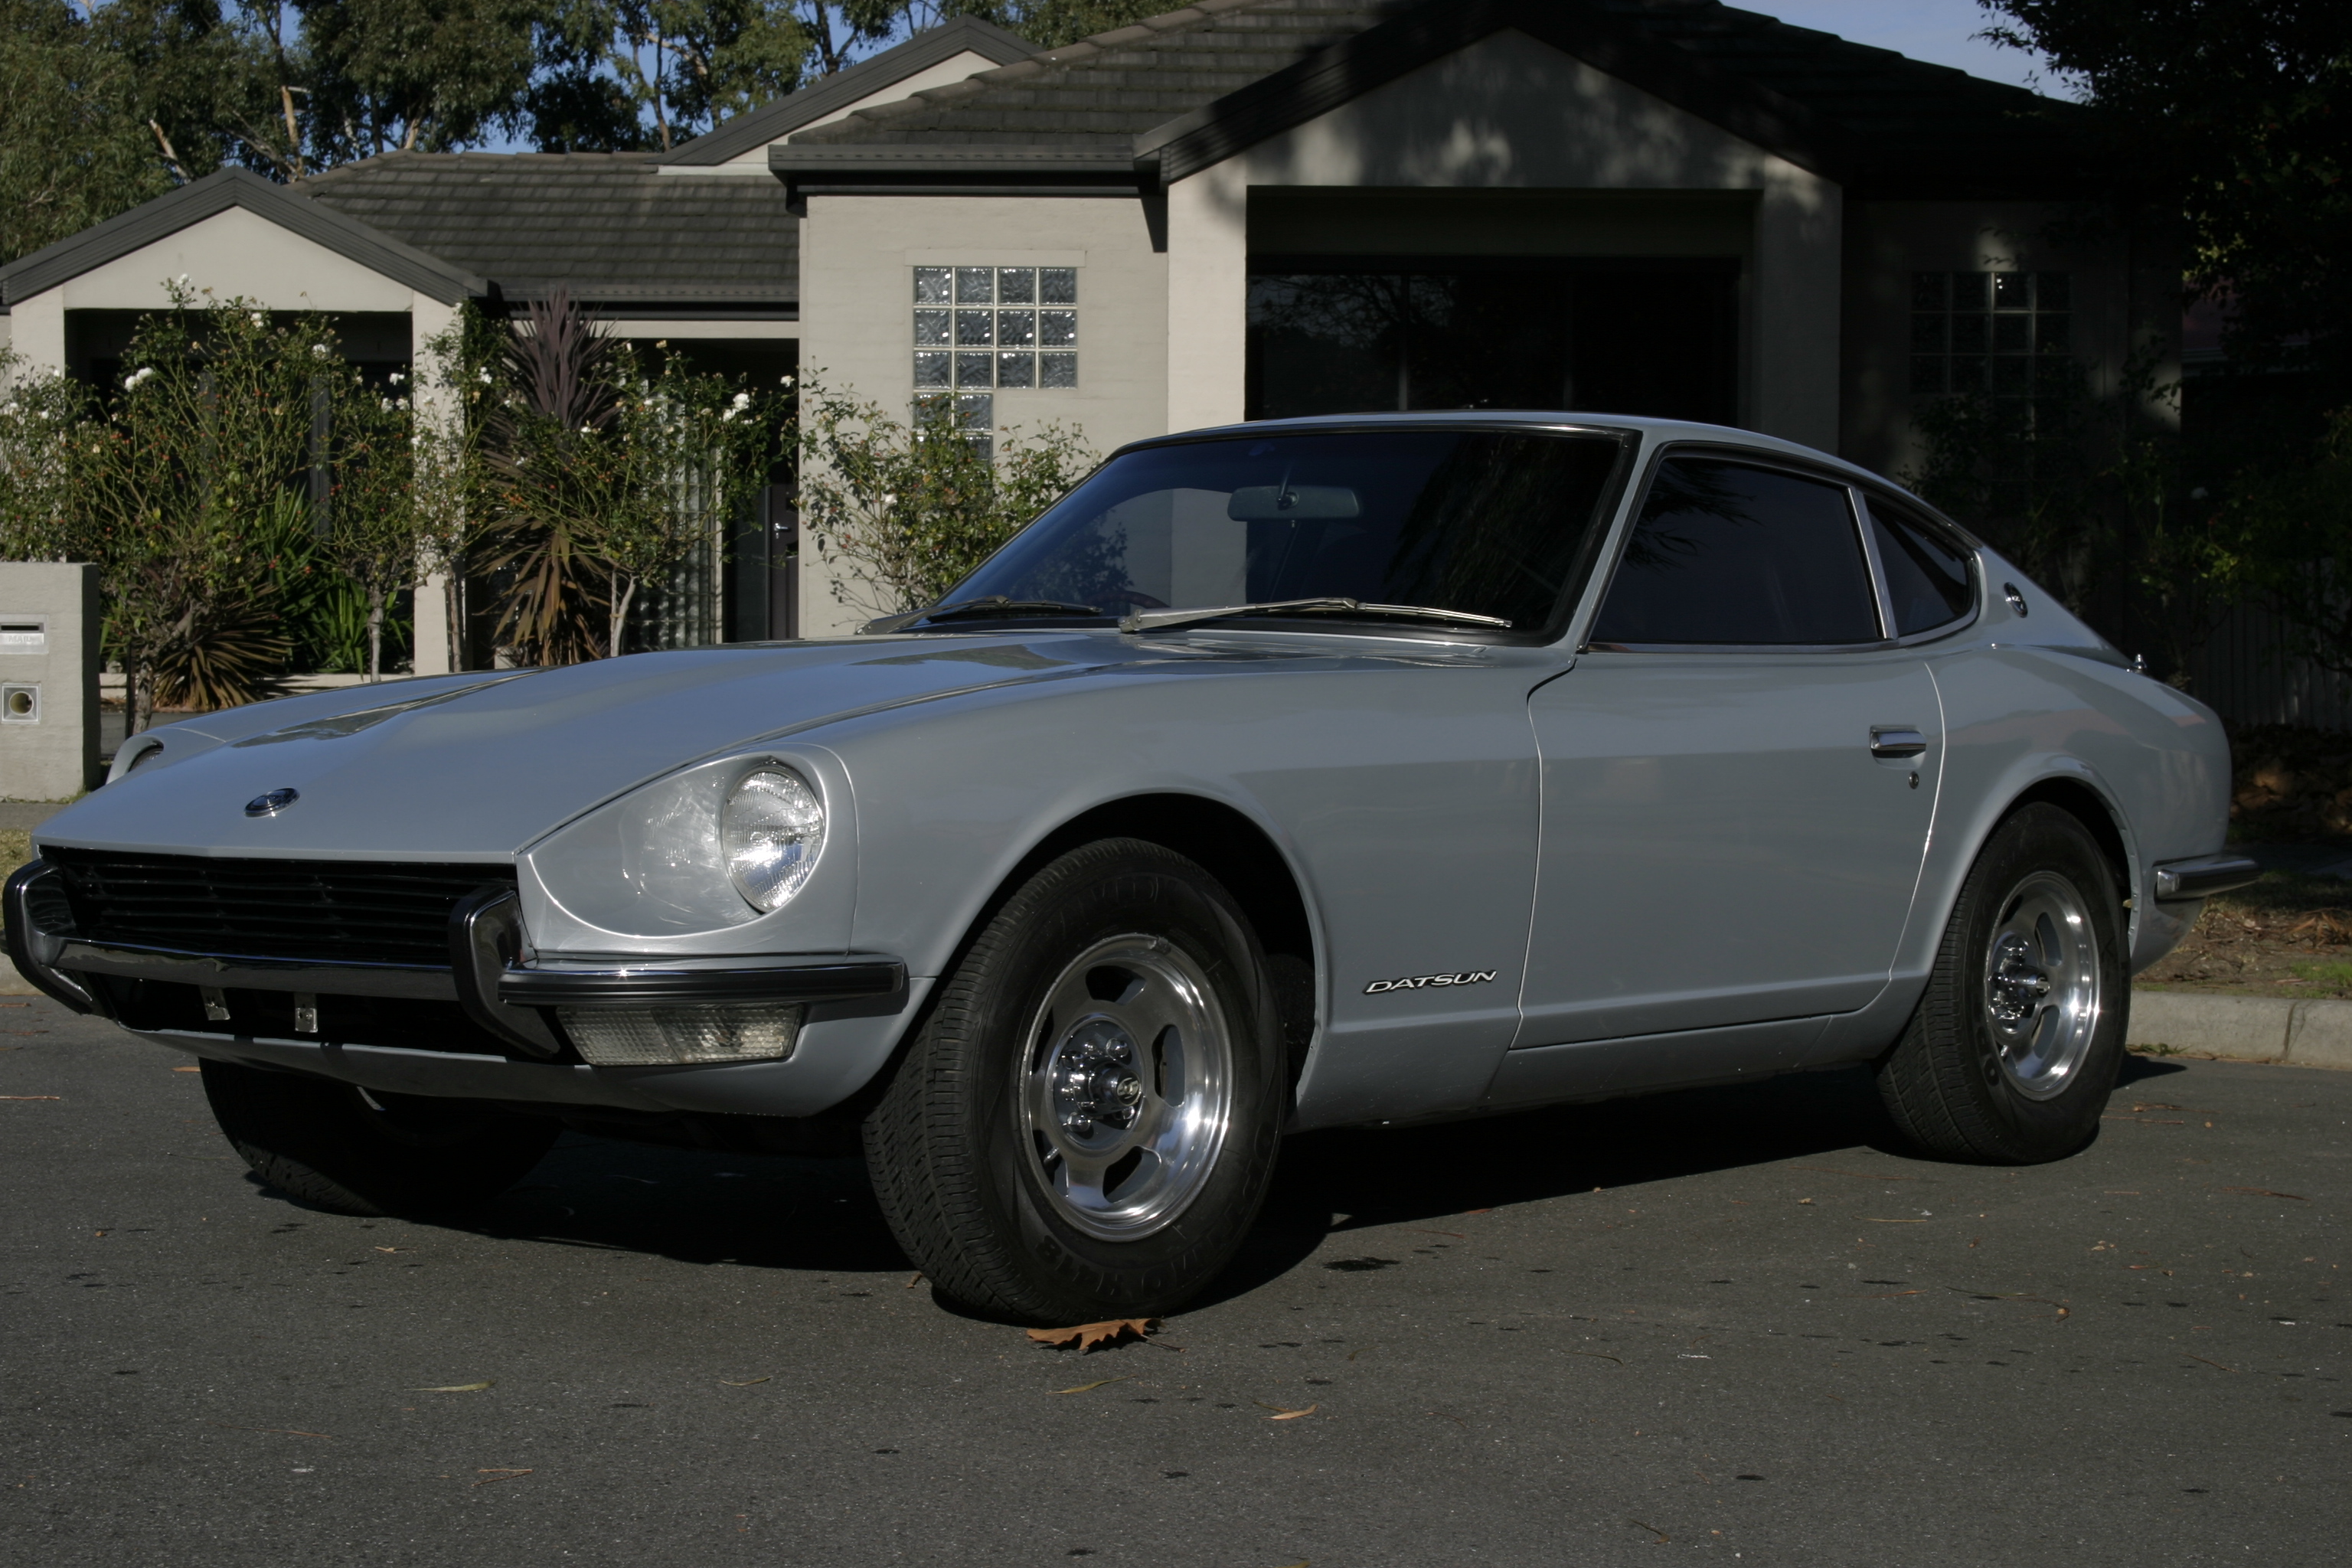
Classic Japan, 2012


RACV Great Australian Rally
-

- The Z on display at Stud Park

-

- The Z and a few of the other cars at Stud Park
-

- The range of cars went from Singer….
-

- … to Ferrari
Let there be Light!
-

- Taillights Installed
-

- Rear Number Plate Light
-

- Front Indicator (front)
-

- Front Indicator (rear)
-

- Headlights (front)
-

- Headlights (rear)
The Dash is in.
-
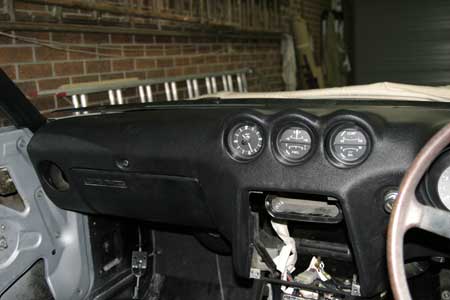
- Passenger side of the dash (need to clean off those finger prints)
-
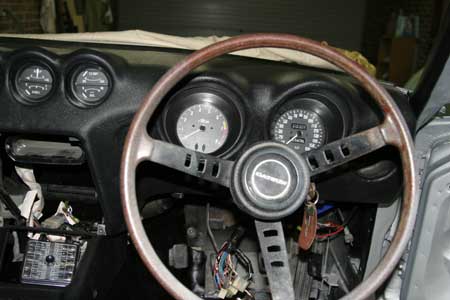
- Driver side of the dash
-

- View of the installed dash and tunnel trim.
Installing the vinyls
-

- Insullation installed onto the tunnel
-
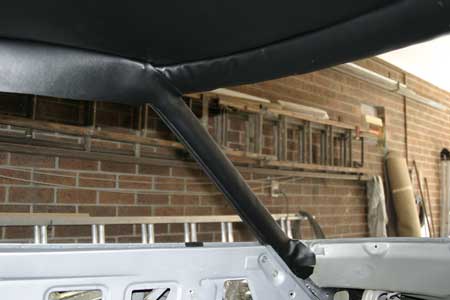
- Roof lining, header trim and A-Pillar trim installed
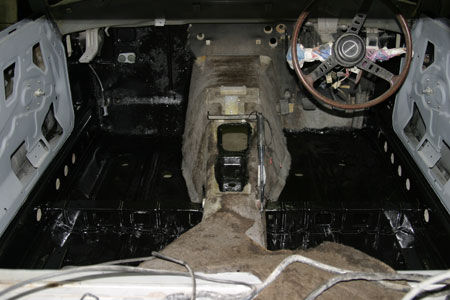
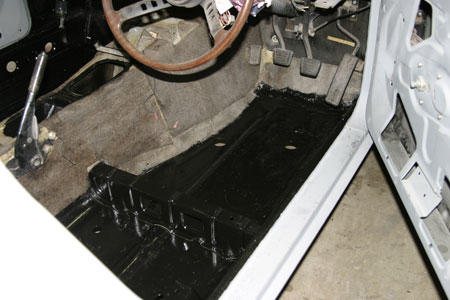
Floor and Firewall coverings
-
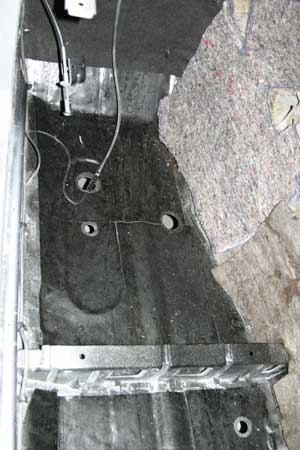
- The new bitumen on the floor
-
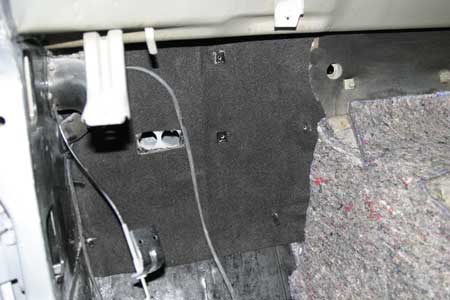
- The firewall re-covered
-
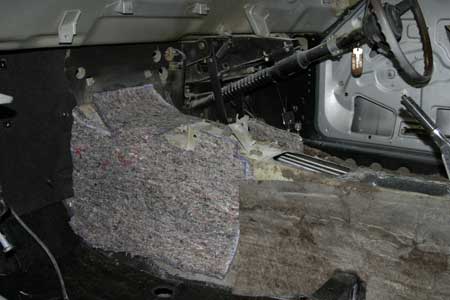
- The new insulation on the tunnel
Side Windows Are In!
-
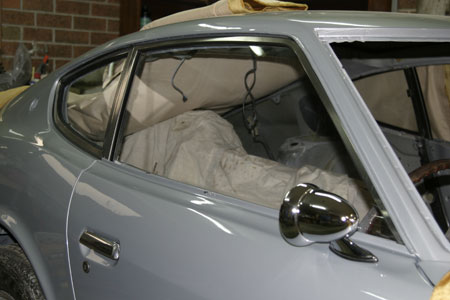
- Front view of the side windows in
-
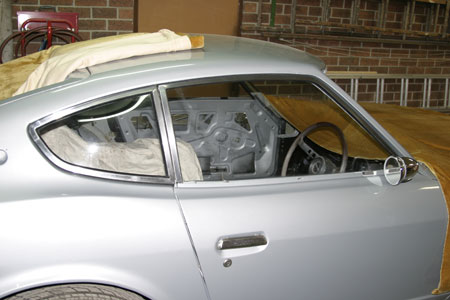
- Side view of the windows in
Much work, little posting.
-

- Heater core back together
-
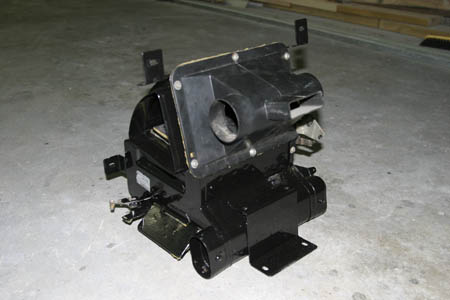
- Heater core
-
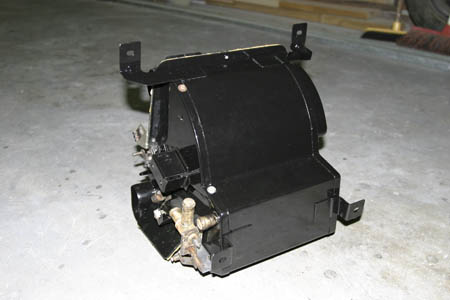
- Rear view of the heater core
-
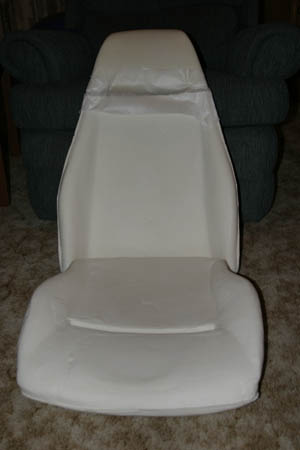
- New seat foams
-
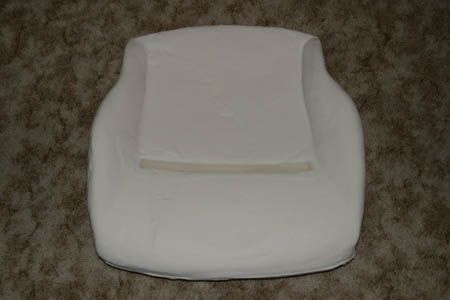
- Base seat foam
-

- back and head rest seat foams
-
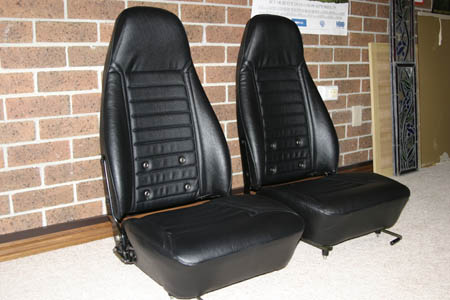
- The new seats ready to go back into the car
-
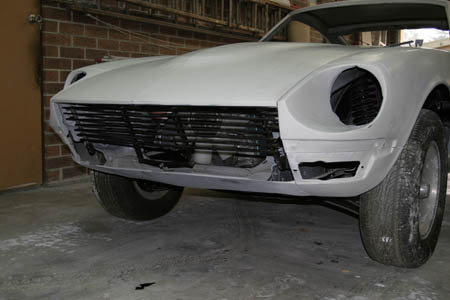
- The repaired grill in place
-
- The grill needed a new piece to be made
-
- Final sanding and ready for top coating
-
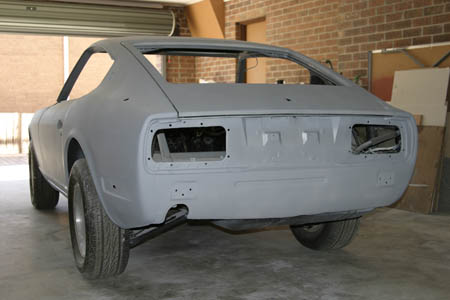
- Rear of the car just before top coat is applied
-
- All of the door jams and insides were painted before the car was sent off for top caoting
-
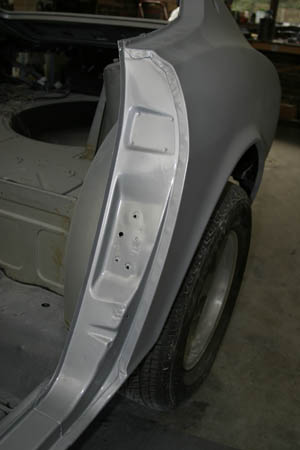
- Beaver panel looking a lot better than when it was.
-
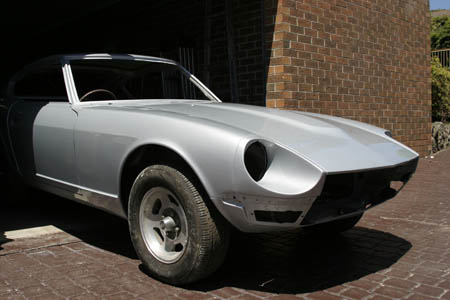
- The car all painted and ready for re-assembly
-

- Close up view of the new shine.
-
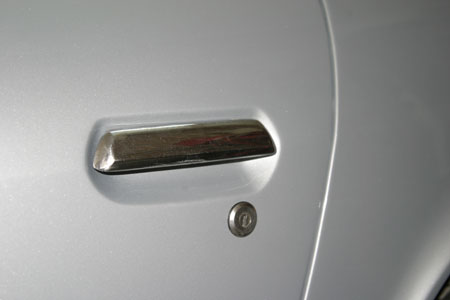
- Door handle and key tumbler in place
-
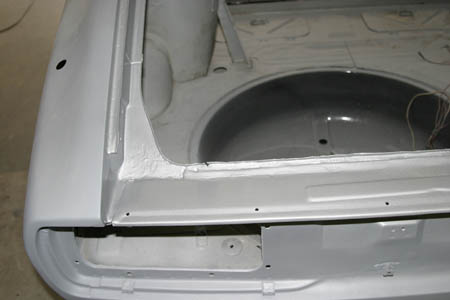
- Latch on car body
-
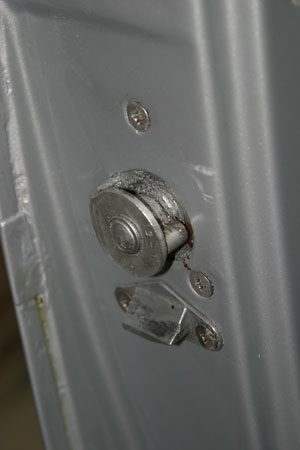
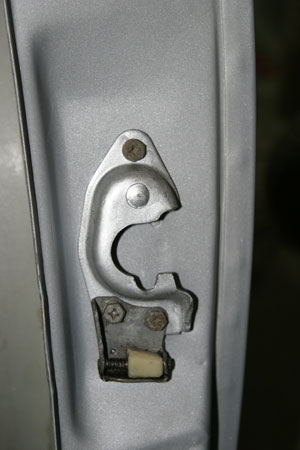
- Lock mechanism and dovetail
-
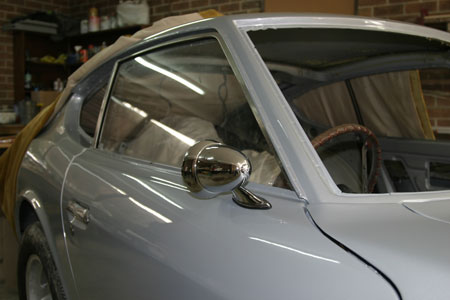
- Driver side mirror
What's been going on
-

- Seat parts powder coated
-

- Heater box freshly painted
-

- Bonnet in high fill
-

- Passenger door
-

- All of the doors
Roof and Rear of car High-Filled
-

- Rear quarter panel in high fill
-

- Roof and rear quarter
-

- Front guard and nose cone
-

- Front guard
Dashboard and Center Console
-

- Front view of the reskinned dash
-

- No more cracks in this resknned dash
-

- From many pieces into one. The center console looks great.
-

- The rejoined center console
Air Conditioner Pump Carrier
-

- Air conditioner pump carrier
A little bit of a catch-up
-

- The engine re-mounted
-

- Another angle of the remounted engine
-

- Cracks in the dash
-

- The broken center consoles
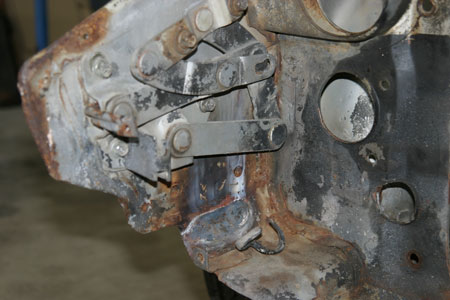
Back end together again (mostly).
-

- Rear brakes back together
-

- Front brakes back together
-

- Master cylinders back together
Cleaning and Painting
-

- Rear end suspension components being painted
-

- Freshly painted half-shaft
-

- Rear suspension painted
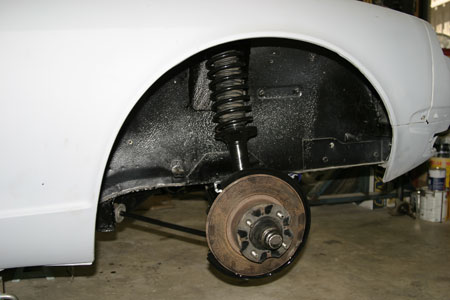
Rear struts replaced
-

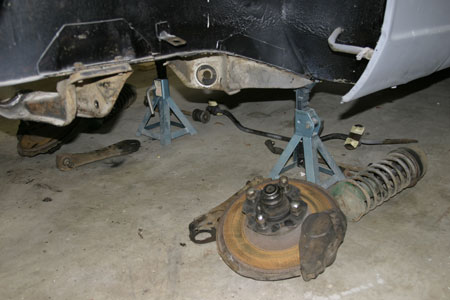
- View of the lowered strut
-

- Close up view of the lowered strut
Engine Clean-up
-
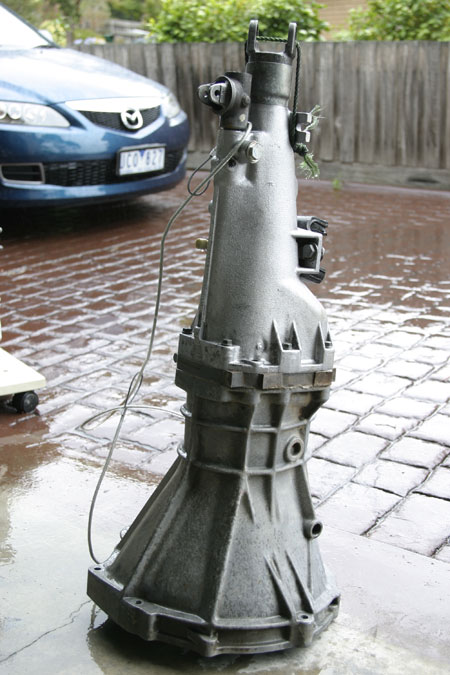
- Gearbox all cleaned up
-
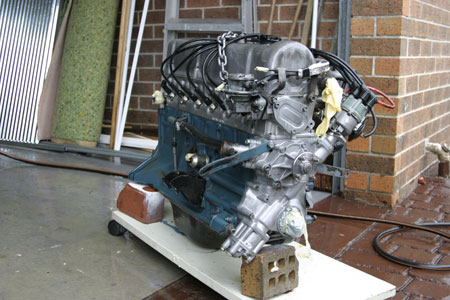
- Engine looking very clean
-
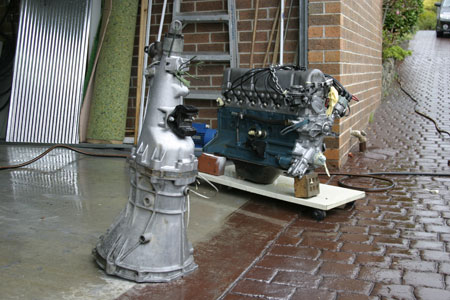
- Cleaned up engine and gearbox
A Bit More Painting
-
- Front floor pans
-
- Spare wheel carrier
-
- Drivre side floor pan
Suspension Reassembly, Part II
-
- Front strut tower back together.
Painted the Struts and Stuff
-
- Front Suspension bits painted
-
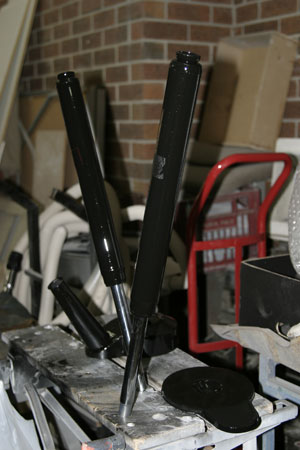
- Painted the shockers to help stop them from rusting in the struts again
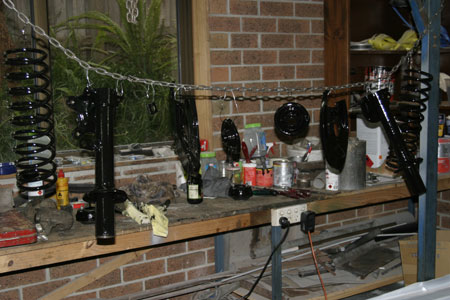
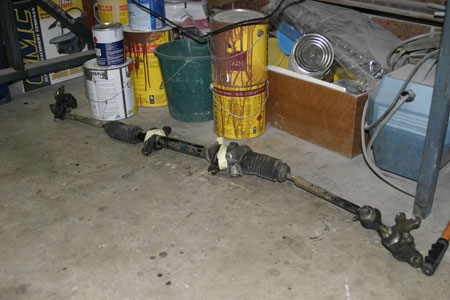
Freshen up of the Components
-
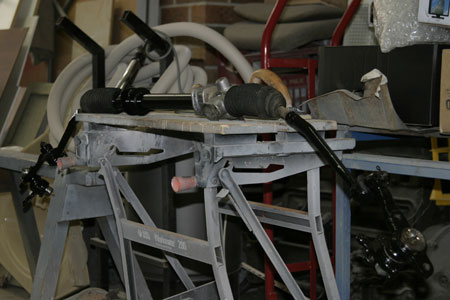
- The painted steering rack
-
- Closeup of the tie-rod ends
-
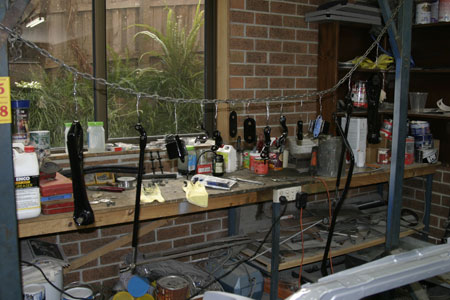
- All of the components hang up and painted
-
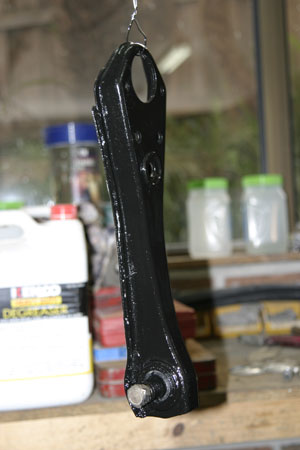
- The painted track control arm
Painting the Chasis Rails
-

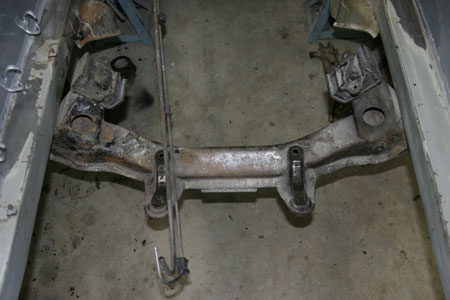
- Painted Chassis Rails and Cross Member
-
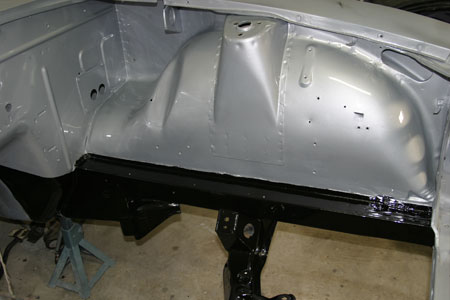
- Painted Chassis Rail
-
- Closeup of the Gearbox Tunnel, Firewall and Chassis Rail
Stripping the Suspension
-
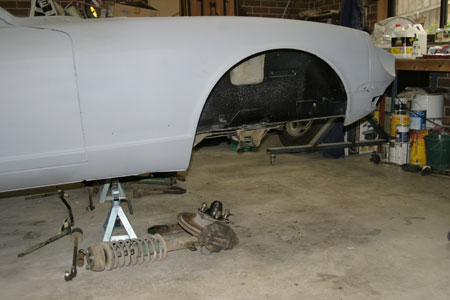
- Very bare wheel arch
-
- Engine bay as stripped as it will ever be
-
- The components under the car for safe keeping
-
- The steering rack
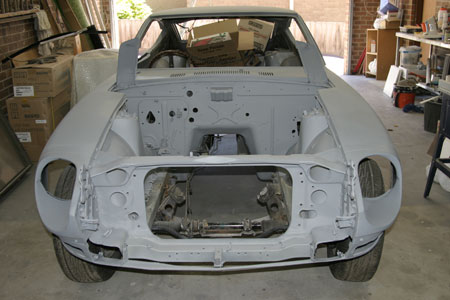
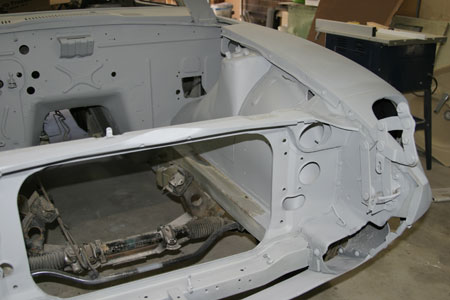
Engine Bay is Painted
-

- Engine Bay Painted
-
- Engine Bay Painted
-
- Engine Bay Painted
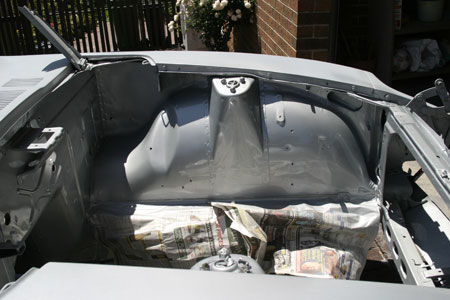
Engine Bay Under Coat
-
- Engine Bay Undercoated
-
- Engine Bay Undercoated
-
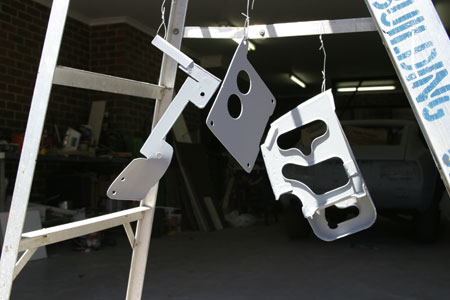
- Pieces that make up the removeable battery tray
The Battery Tray
-
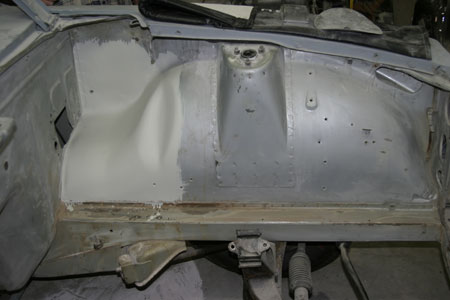
- High fill applied with brush to area under battery tray
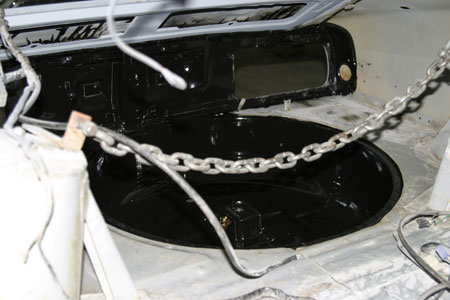
Floor Pan - Part i
-

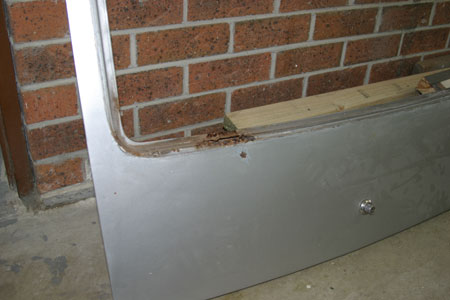
- Hoisting the car from the tail
-

- The peice of wood attached to the diff is the “2-second grace”
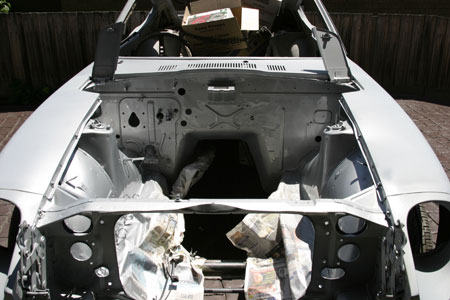
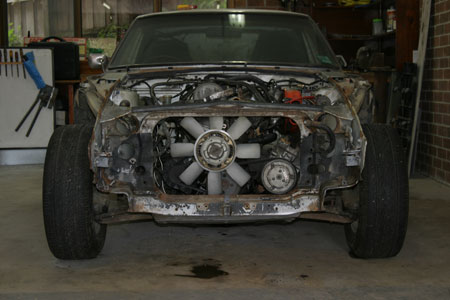
The engine is out.
-

- The engine on it’s way out.
-

- The engine out of the car.
-

- Its a bit oily. We’ll have to find those leaks!
-

- A very empty looking engine bay.
She's all one colour!
-

- Nice to see her wearing a single colour
-

- We think that the lines look pretty good
-

- Must remember to take out the rest of the masking.
Etch Primed
-
- Drivers side ready for etching
-

- From the rear
-
- Drivers side etch primed
-
- Roof etch primed
Put it on, Take it off
-

- Ripples on the top of the guard
-

- Ripples along the side of the guard
-

- The roof had a few valleys.
-

- The driver door has had a fair share of knocks.
Chip, Chip, Chip.
-

- Passenger Side Floor – Under Seat
-

- Passenger Side Floor – Footwell
The Dash is Out
-

- Dash is out, only the heater and steering wheel remain
-

- That wiring loom needs a little work.
-

- Vinyls off the wheel archs, just need to clean them up.
Lining up the Doors
-

- All the guards back on
-

- Front on view
-

- Close up view of the bonnet and guard
Last of the fiddly bits
-

- All of the fiddly bits in their stripped state.
-

- After the first hole was cut in the wheel arch
-

- After both patches had been brazed into place.
-

- Dad holding the removed battery holder. Lots of surface rust but nothing too bad
Back... to the fiddly bits
-

- Beginning of the stripping of the headlight surrounds.
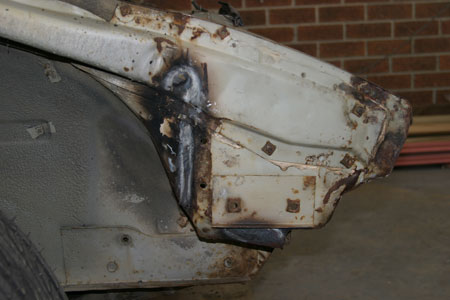
Patching the holes
-

- So much easier welding on the bench
-

- Close up of the patch on the bench
-

- The patch welded to the car
-

- Close up of the patch welded to the car
-

- View of inside the wheel arch
The end, at last! Of the Guards Anyway.
-

- The guard stripped bare.
-

- The original
-

- The repair job after welding
-

- Close up of the repair
More Stripping of the Guards
-

- The damage on the front passenger guard
Moving right along to the guards
-

- Repair on the Driver Guard
Bare and repaired.
-

- Driver Door
-

- Passenger Door
-

- Passenger Door Repairs, Part I
-

- Passenger Door Repairs, Part II
Bad, but not a total loss.
-

- One hole at the front
-

- and a few at the back.
... and continues ...
-

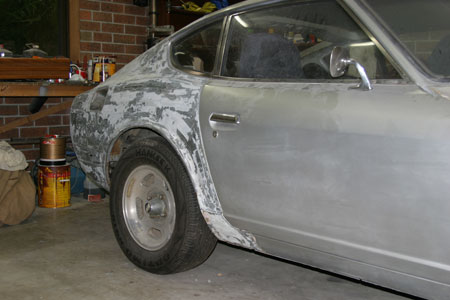
- Driver side Nice and stripped.
-

- Passenger side stripped as well
-

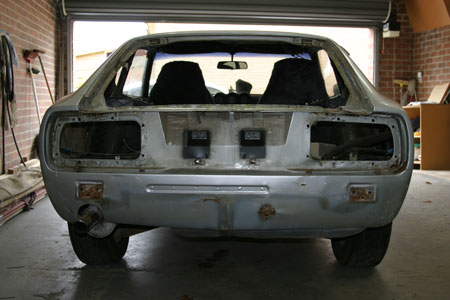
- View through the tailgate
-

- Next, the dash need to come out.
The roof is bare!
-

- The roof from the front
-
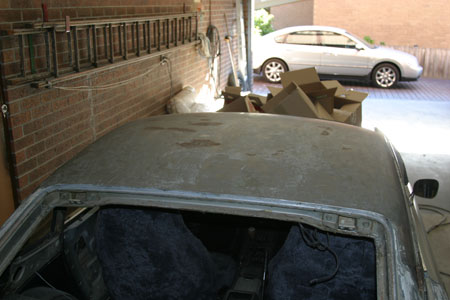
- The roof from the back
-

- Close up of the rust spots
-
- Overhead view of the hatch panel
-

- Pasenger side
-
- Driver side
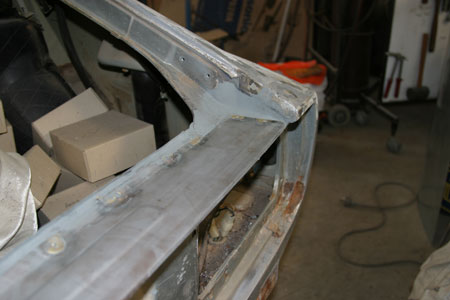
The old Hatch Panel is removed
-

- The stripping of the roof
-
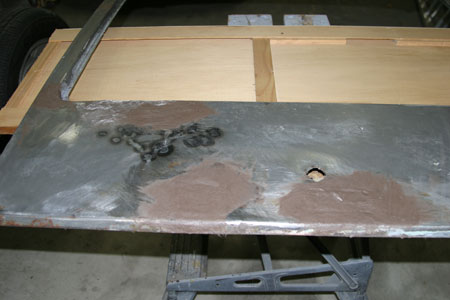
- Tailgate with metal mend applied
-
- Where the hatch panel used to be
-
- The new hatch panel (not attached yet)
-
- Old, rusty hatch panel
Continuing the Stripping
-
- Stripped rear quarter
-
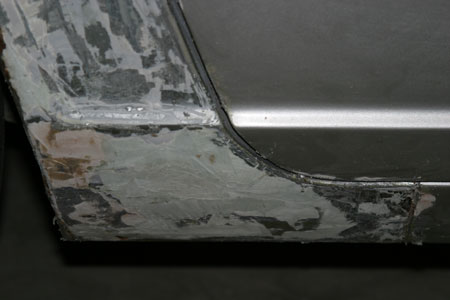
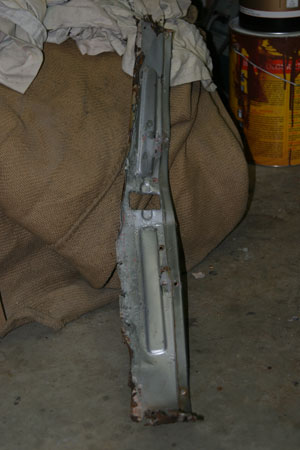
- A little rust in the sill
-

- Stripped rear quarter
-
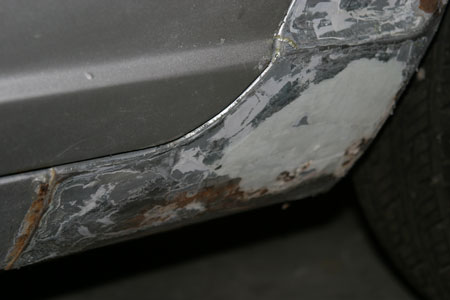
- A rust hole in the sill
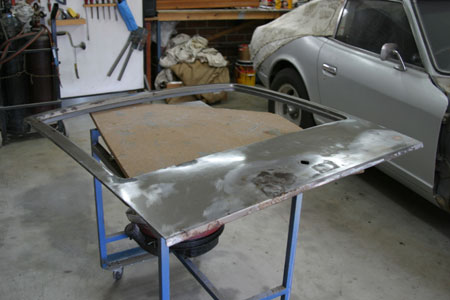
Getting the new bonnet on, just right
-
- Beating the front driver side back into shape
-
- A bit of heat gets things nice and straight
-
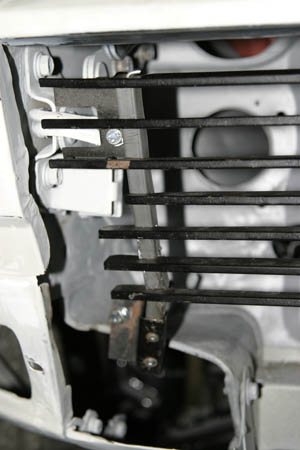
- The front end with radiators removed
-
- New bonnet fits nicely after the panel work
-
- Tailgate stripped bare
-

- Rust hole in tailgate
Picked up and the bonnet
-
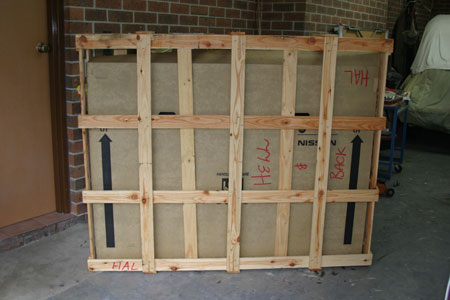
- Tightly packed, safe and sound.
-
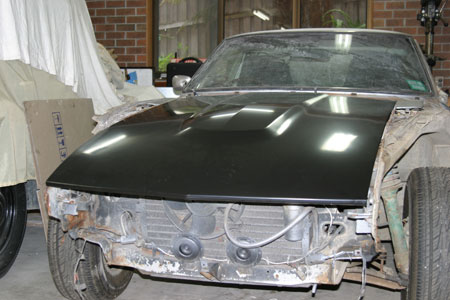
- In place …
-
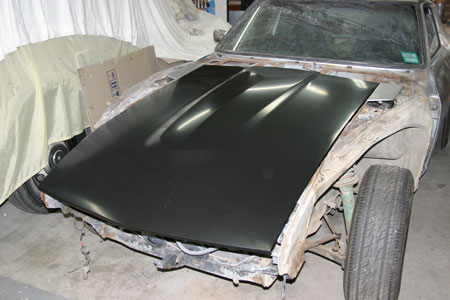
- …and looking sweet
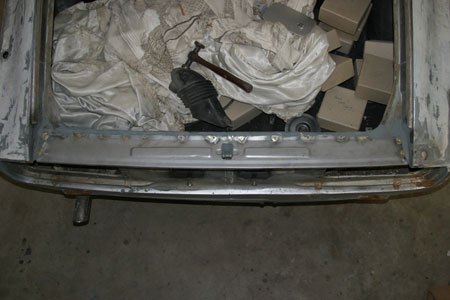
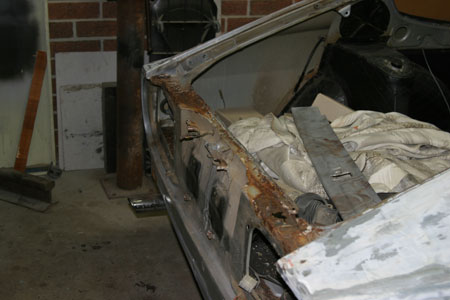
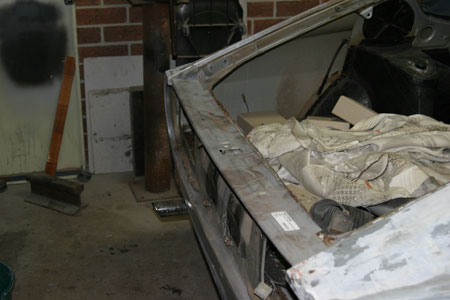
The tail end disassembly
-

- Hatch Panel Patch #1
-

- Hatch Panel Patch #2
-
- Tail end stripped down
-
- Tailgate rust hole in need of repair
-

- Rust damage around taillights
-

- Pile of parts under the house
-

- For Sale: Tow bar suit 240z
Disassembly of the front end
-

- The investigative work on the bonnet
-

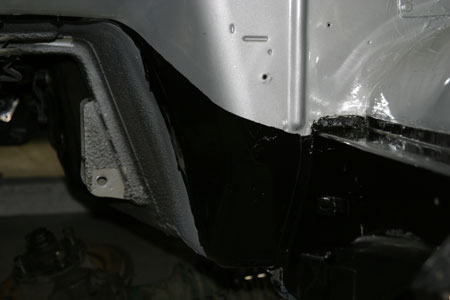
- Lots of hidden dirt under the guard
-

- Lots of surface rust, but no holes!
-

- Under side of the cowl finisher
-

- A pretty bare front end
-

- The guards
-

- The body filler
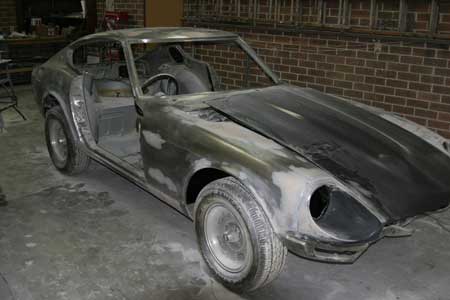
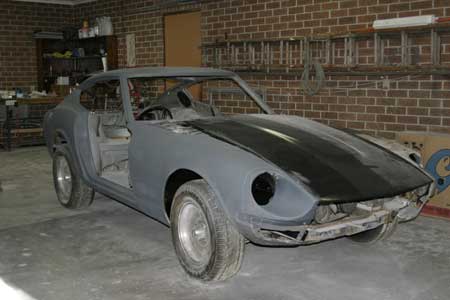
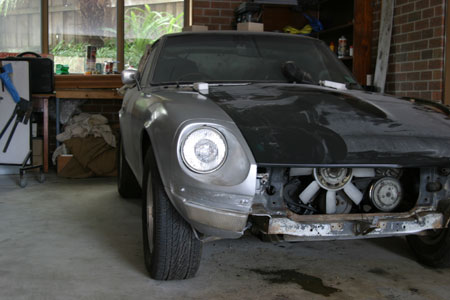
In the Beginning


This, is the one.
-

- She looks pretty straight
-

- Nice lines from the tail
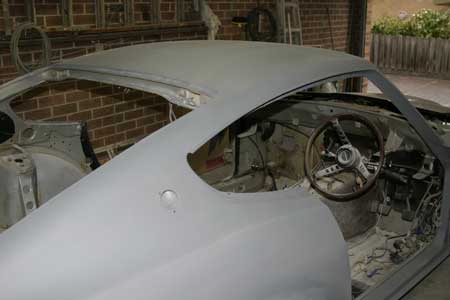
-

- Oh oh! A quick fix to get the RWC
-

- Typical cracked dash
-

- Pretty original engine